One of the swaps I made for the Melbourne Regional event was this christmas, post-card style, top note.
I thought I'd share a basic step-by-step, photo tutorial, so that everyone can try their hand at a glowing moon, on christmas eve (since the time is approaching).
 |
If you have a big shot, roll through some whisper white card stock & the top note die.
If you don't have a big shot you could use a stencil to trace & cut a top note shape, or a rectangle will do the job too. |
 |
Use the embossing buddy to prepare the card stock before stamping.
(This helps with static & stops the embossing powder from sticking were you don't want it) |
 |
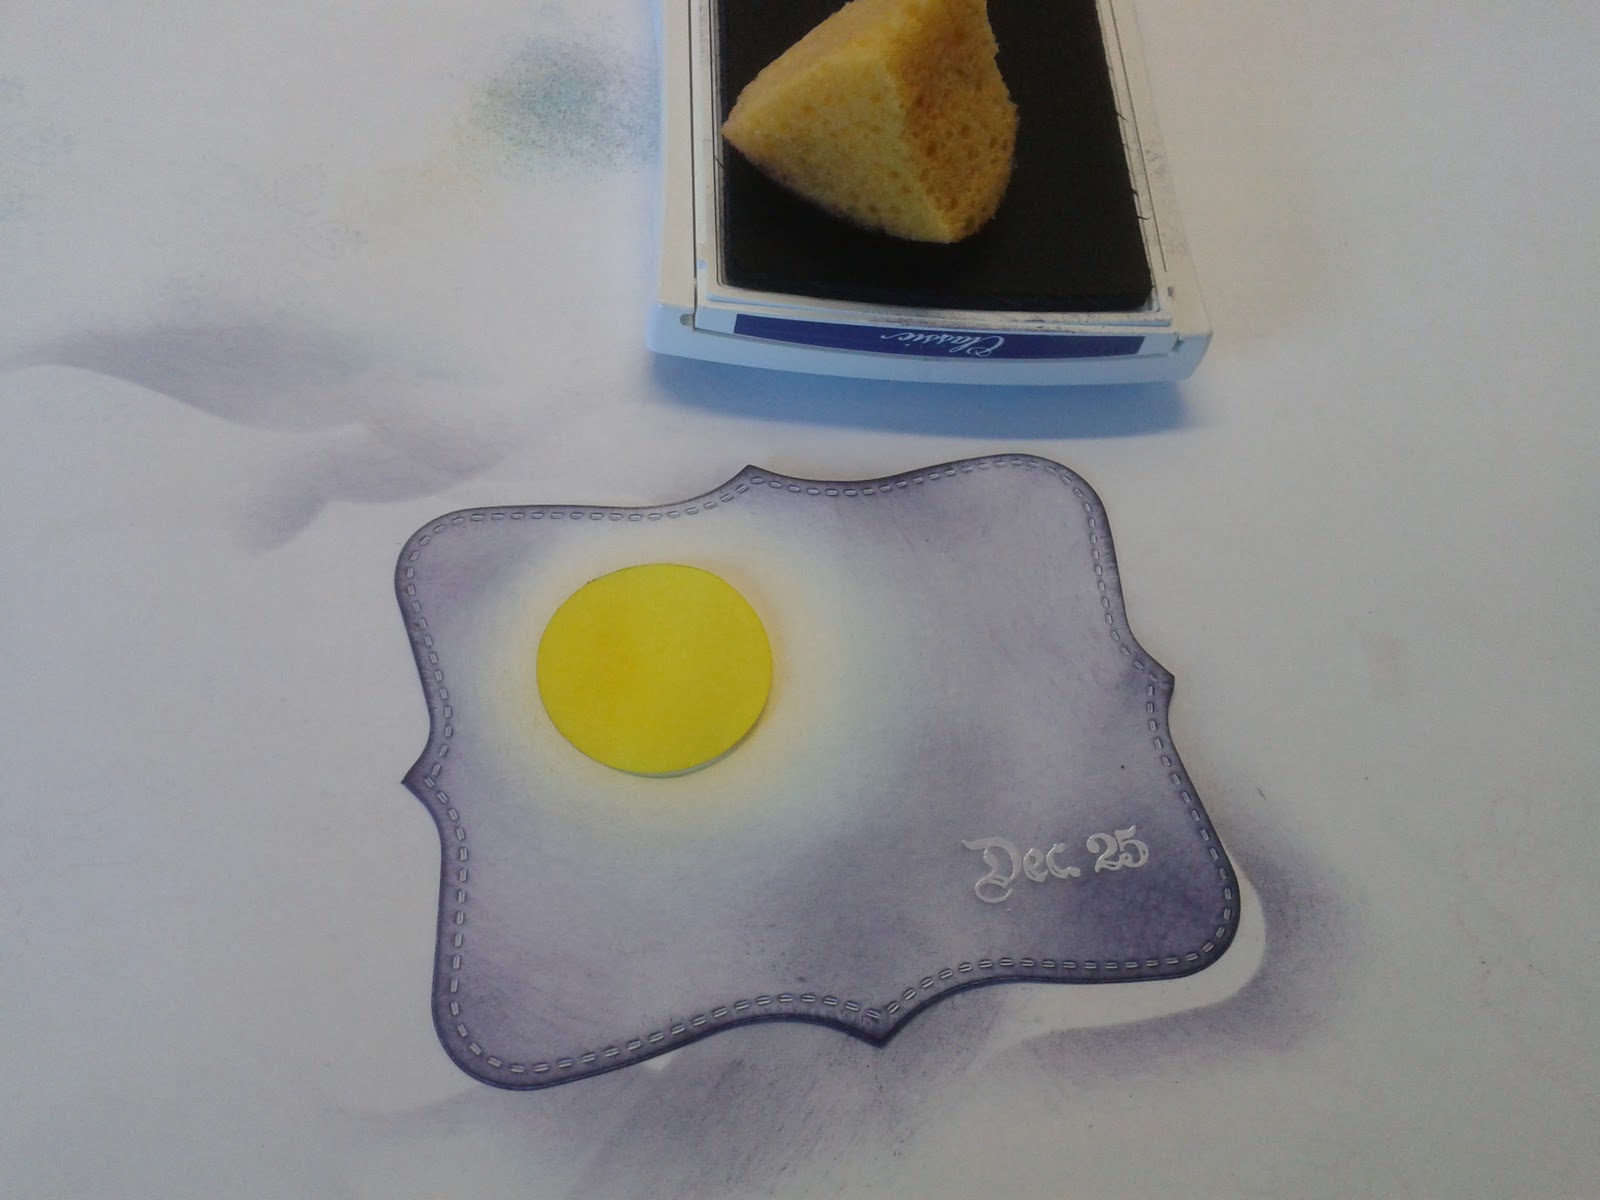
| I used the Versa-mark marker, to ink only the "Dec 25" from this stamp (from Winter Post stamp set), because I didn't want the whole label, but the Dec 25, matches the font from the post card stamp. |
 |
| Stamp firmly onto the bottom corner of the top note. |
 |
| Sprinkle with clear embossing powder. |
 |
| Tip off embossing powder, & tap or flick top note to remove any excess. |
 |
| Use a heat tool to set the embossing powder. |
 |
| Punch out a 1 3/8' circle from a post-it note. (be sure to punch over the sticky area of the post-it so it will stick to the top note, & stay in place while sponging). |
 |
| Choose where you would like the moon to be, & stick down the circle. |
 |
Starting with yellow (I used Daffodil Delight), apply ink lightly to sponge (remember you can always add more).
Starting on the post-it circle, sweep sponge around the moon in gentle circles, then working you way out into bigger circles as the ink runs out. |
 |
Next colour, blue (Marina Mist), goes around the yellow. Because you can't start on the post-it circle , you need to tap off the excess ink onto scrap paper before applying it around the moon ( this helps to keep the ink looking soft).
|
 |
| Again use a gentle sweeping circle motion around the moon, but start just outside the yellow then work your way in, letting the blue ink fade out as you slightly overlap with the yellow. |
 |
| Last colour, purple/indigo ( Concord Crush ). I like to go around the edges first sweeping the ink downwards. |
 |
| Start filling in the rest of the top note lightly with the purple ink, using small circular motion around the edges & corners. Then without re-inking the sponge, use the large circle movement to work the purple ink around the moon, in towards the blue. |
 |
| Then you can go back & add more purple ink to darken the edges, using small circular motions. |
 |
| Remove the circle post-it before stamping. |
 |
I think this is a Fir tree, from the lovely as a Tree stamp set, & makes an excellent christmas tree.
Ink up the tree stamp with the purple ink, then stamp it a few of times before re-inking, you don't want all the tree's to look the same, so stamp at different heights as well. |
 |
| Keep stamping the trees until your happy with the result. (I was aiming for a christmasy forest). |
 |
| Stamp the Post Card stamp form Winter Post, in the purple ink. |
 |
| Remove any excess ink from the clear embossed Dec 25, with a tissue. |
 |
| All done. A big glowing moon, in an inky night sky, over a forest of christmas trees. |
 |
| A Blue alternative (Night of Navy). |
 |
| Stampin' Markers are great if you only want to ink-up a portion of a stamp. |


Great tutorial Belinda, i love this its awesome. I will have to give my cousin the link to ur blog as she got this swap from you at regionals and i just happened to have bought her the lovely as a tree set for xmas! No doubt she will be wanting to recreate ur wonderful work.
ReplyDeleteIt's beautiful & very Christmas card. Like it very much! Thanks for the xmas mood ))) And for the tutorial )))
ReplyDeleteBeautiful work, love the tutorial! Awesome!!!
ReplyDeleteLove it, thanks for the tutorial
ReplyDeleteVERY VERY nice!
ReplyDeleteVERY VERY nice!
ReplyDeleteThanks so much for all the lovely comments. Much appreciated : )
Delete