 |
| Linda's Birthday Card Colours: Wild Wasabi & Basic Black. Stamps: Grunge Rock & Extreme Elements. Big Shot: Top note die & Vintage Wallpaper. Extras: Crochet Ribbon, string, Black ink refill, Eyelets & saftey pin. 1.) Cut a Top Note from Wild Wasabi card stock. 2.) Brayer Black ink onto Vintage Wallpaper Embossing Folder, then add wasabi top note & run through big shot. 3.) Add Versa Mark ink all over top note, then sprinkle with clear embossing powder & heat. 4.) Cut top note in half, & Sponge Black ink around edges of top note. 5.) Use Crop-a-dile to punch holes & add eyelets. 6.) Mix several drops of black ink refill to small dish of water, mix in crochet ribbon, microwave for approx 30 secs to help fasten colour. 7) .Repeat dying process with cotton string. Allow to dry before using (a heat tool can seed-up drying). 8.) Stamp and sponge back ground. 9.) Thread string through eyelets, stick top note down using dimensionals, one half at a time. 10.) Tie a knot in crochet ribbon, add a small saftey pin, & stick down using glue dot. 11.) Add a greeting to finish. |
In Colour

2022 - 2024
Thursday, 1 September 2011
Gothic Green
I have a sister inlaw who's a bit of a Goth, and she also love green, so naturally for her birthday I had to try and make a green gothic type of card.
Inspired Again
I found myself flicking through the magazine from the Sunday paper, and seen some products on a page that I thought looked like they would make great cards. So, of course I had to make some.
 |
| These are the first two designs I came up with. |
 |
| I Loved the colours and the design. Then had to figure out how to recreate it. |
 |
| This one I Stamped with Real Red ink, then coloured in with a Versa Marker, & dabbed White chalk-pastel over the top. I wasn't satisfied with the amount of white, so I added more with a white gel pen. |
 |
| This one I stamped with Rose Red ink, then coloured-in using an Aqua Painter & White Craft ink. (I think this one turned out better.) |
 |
| I merged the two designs together to make a swap. Bashful Blue, Whisper White & Rose Red. Nature Walk & Elements of Style. |
 |
| I've only made one from this piece of inspiration so far (I plan to make more soon). |
 |
| It's not a colour I would normally use for bees, but it works. |
 |
| Flowers & Bees. |
Jacobs Birthday Cake
Ok. It's taken a little while to get this picture on here, but here it is... Jacob's 8th birthday cake.
It didn't quite turn out as I had planned (or as Jacob actually wanted, as in spidermans pose), but I was running out of time and had to make do.
It didn't quite turn out as I had planned (or as Jacob actually wanted, as in spidermans pose), but I was running out of time and had to make do.
 |
| Jacob's 8th Birthday Cake |
Tuesday, 9 August 2011
Kids Birthday Cards & Cakes
Lucky (or unlucky) for me, my kids birthdays are two days apart, Jayda on the 8th Augast & Jacob on the10 th. We decided not to have parties this year, which meant we could spend a little more on their presents, but of couse I'll still make them a cake & birthday card. For some reason Jayda chose to have a triple orange cake if you could imagine that, so I gave it a go. Have only made cup cakes for Jacob to take to school so far, but if his birthday cake turns out interesting I'll give you a peek.
If you'd like to see a tutorial on this card, check out splitcoast stampers http://www.splitcoaststampers.com/resources/tutorials/magic_card/
It a great card to give & a fun card to receive, but a little tricky to make for the first time. But as I always say "practice helps"& Good Luck!
 |
| Jayda's Orange 11th Birthday Cake |
 |
| Inside Orange Cake, before sticking the two halves together. |
 |
| Jayda's 11th Birthday Card (I spent most of my time on the cake, so this was made the night before her birthday). |
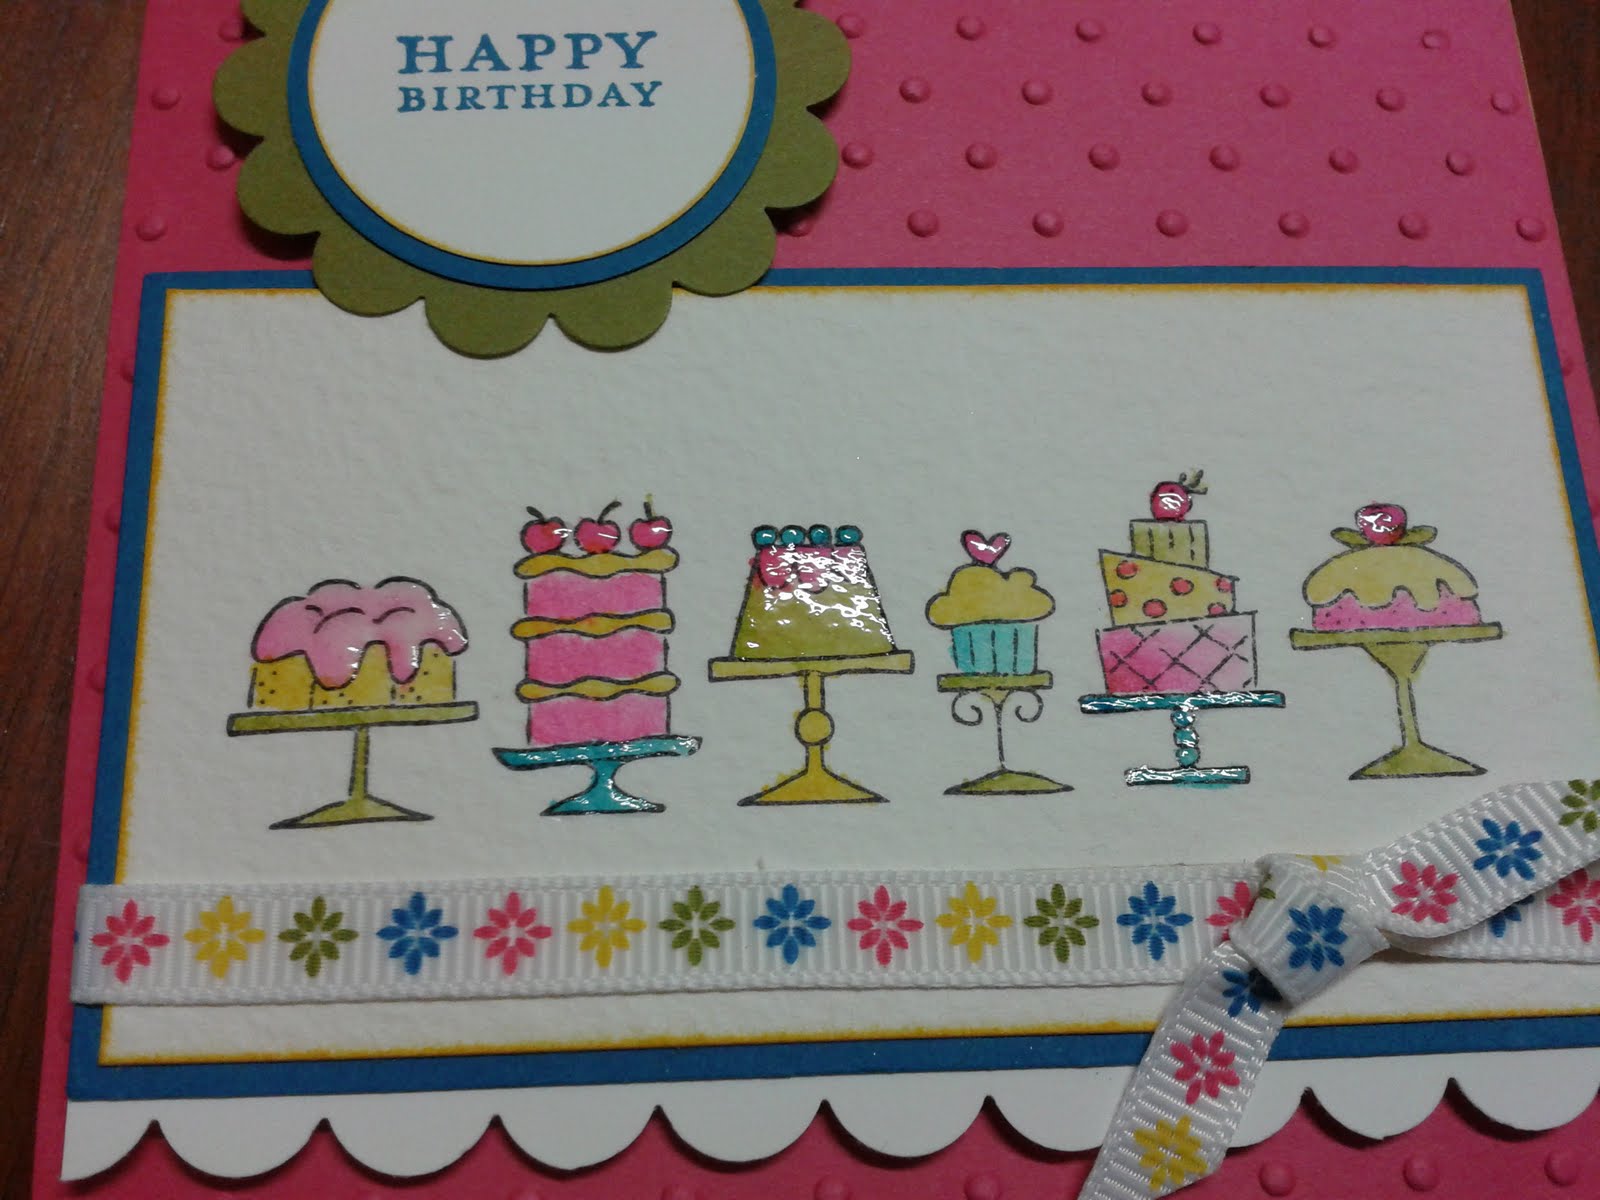 |
| Jayda's birthday card close up. I used Crystal Effects on bits of the cakes. |
 |
| Jacobs 8th Birthday Card. (This was my first attempt at a magic card, & again made the day before his b'day) |
 |
| As you pull the tab up, you can see the robot in colour. |
 |
| I think next time I make one of these cards, I'll plan my measurements a bit better. I only seem to learn from making misstakes. |
 |
| There he is, little robot up close. |
It a great card to give & a fun card to receive, but a little tricky to make for the first time. But as I always say "practice helps"& Good Luck!
Saturday, 6 August 2011
Fizzy Fruit Waterfall Card +
Last time I showed you a little girls version of a waterfall card, flipping in the horizontal position.
Now I'd like to show you the vertical style, using a good old stamp set Tart & Tangy, that I'm sad to see is retiring (because I didn't use it enough).

Now I'd like to show you the vertical style, using a good old stamp set Tart & Tangy, that I'm sad to see is retiring (because I didn't use it enough).

 |
Supplies: Trimmer + Scoring Blade, Stamps; Tart & Tangy, Inks; Real Red, Melon Mambo, Certainly Celery & Daffodil Delight, Hole Punch, Brads x2, Sticky Strip & Black Cards tock; Card base (Folded) approx 6"x4" + 9/2"x 2 1/2" + 3/4"x4" White Card stock; Four 2"x2" + Front approx 5 1/2"x 3 3/4" Coloured Card stock to match ink; Four Squares Slightly larger than the white ones. |
 |
| Stamp Tart & Tangy as a background pattern onto large white card stock, then one of each fruit onto each small (2"x2") square. You can also drag the edges of the square through the ink of the coordinating colour of the stamp. |
 |
| Spray coloured card stock squares with Champagne mist shimmer paint (mixed with alcohol), for a sparkling fizzy look. |
 |
| Stick fruit stamped white squares onto coordinating coloured card stock |
 |
| (woops, this pictures gone side ways too) The 9 1/2"x 2 1/2"black card stock needs to be scored at 2", 2 3/4", 3 1/2" & 4 1/4" .Then pre-fold. |
 |
| Add sticky strip to the top of the backside of each coloured sqaure. |
 |
| Take the red backing off the sticky strip, and stick just below each score line. It's easier to start at the bottom and work your way up. |
 |
| All coloured squares attached to scored black card stock. |
 |
| Flip over and add sticky strip to the very bottom of the black card stock. |
 |
| Stick 3/4"x4" black card stock onto the bottom edge, yet trying to keep even over-hang on the sides. |
 |
| Place onto white stamped card stock, try to centre then punch holes through black cardstock band & white stamped card stock. |
 |
| Add spilt pins to hold together. |
 |
| Fold black full card stock base. |
 |
| Stick waterfall front to black card base. |
 |
| Pull down the black pull tab & punch a hole near the bottom. |
 |
| Add a piece of ribbon |
 |
| & your done. |
Tuesday, 2 August 2011
Londi's Birthday card - Waterfall card
A friends little girl was turning three. So naturally I wanted to make her a little girls birthday card. Of course little girls like pink & cute animals, so to throw all that into a fun waterfall card seemed like the way to go.
 |
| Londi's Birthday card |
Don't know why the photos have turned up the wrong way, but you get the idea.


Scrap Page
At a little social stamp group I attend, we decided to set our selves a challenge. Last week it was a scrap book page. I don't usally scrap book (well almost never actually), so this one was a bit of a challenge for me. I'd recently been to Noojee with a couple of friends, so I decided that would be the subject of my scrap page. I won't mention the mistakes I made along the way, that way you may not notice them either.
 |
| Trestle Bridge Noojee |
Subscribe to:
Posts (Atom)