
It's all made up of balloon stamps from Stampin' Up's "Balloon Builders" stamp set. Well except for the the Happy Birthday & the sun in the corner.

Stamp Sets: Balloon Builders & Memories in the Making.
Cardstock: Whisper White & (Ivory Naturals - retired)
Ink: Real Red, Watermelon Wonder, Tangelo Twist, Daffodil Delight, Rich Razzleberry, Perfect Plum, Wisteria Wonder, Tip Top Taupe, Crumb Cake, Tempting Turquoise, Garden Green, Cucumber Crush & Pear Pizzazz.
Techniques: Masking

I stamped the balloons on the inside to resemble cherries and punched holes in them to look like the caterpillar has eaten his way through them, like he does in the book.
I did stamp a colourful butterfly on the back of the card too, but my practice butterfly turn out better than the one I did on the actual card (and I'm too embarrassed to show it : / ).

I had forgotten to take a photo of the first step here, which was stamping the little round Daffodil Delight (yellow) balloons for the eyes. Then I stamped them onto the sticky portion of a post-it note and cut them out to make a mask. Next put the masks over the eyes and stamp the Real Red big balloon for the face.

Remove the masks to reveal the yellow eyes.
With the practice piece I had done I stamped the caterpillar first, then couldn't fit these little circles (confetti looking bites of food) on the bottom, so I had to stamp them on the top. But they look better on the bottom, so I did them first to make sure I would fit them in.
I think they also make the card, because if you've seen the book you'll know they're everywhere.

Later I stamped a smaller green (Cucumber Crush) balloon in the eyes.

I did use the Aqua Painter to spread ink around a bit on the face, because of the style of these balloons stamps it was quite patchy.

Using the thick brush tip end of the Daffodil delight marker, I drew a line over the top of the caterpillar, then with the small end of the Tip Top Taupe Marker I drew the little hairs along the humps with little strokes.

To get the shape of the antennas I used the brush tip end of the Perfect Plum Marker to add the ink to the small long balloon stamp, But only inking up the top angled portion.
Why would I bother you might ask...? Well, I did try stamping the full balloon stamp as the antenna on a practice and it looked wrong. I only know it looked wrong because my son had seen me stamping The Very Hungry Caterpillar, so he went and found the book that he still had on his book shelf from so many years ago. : )
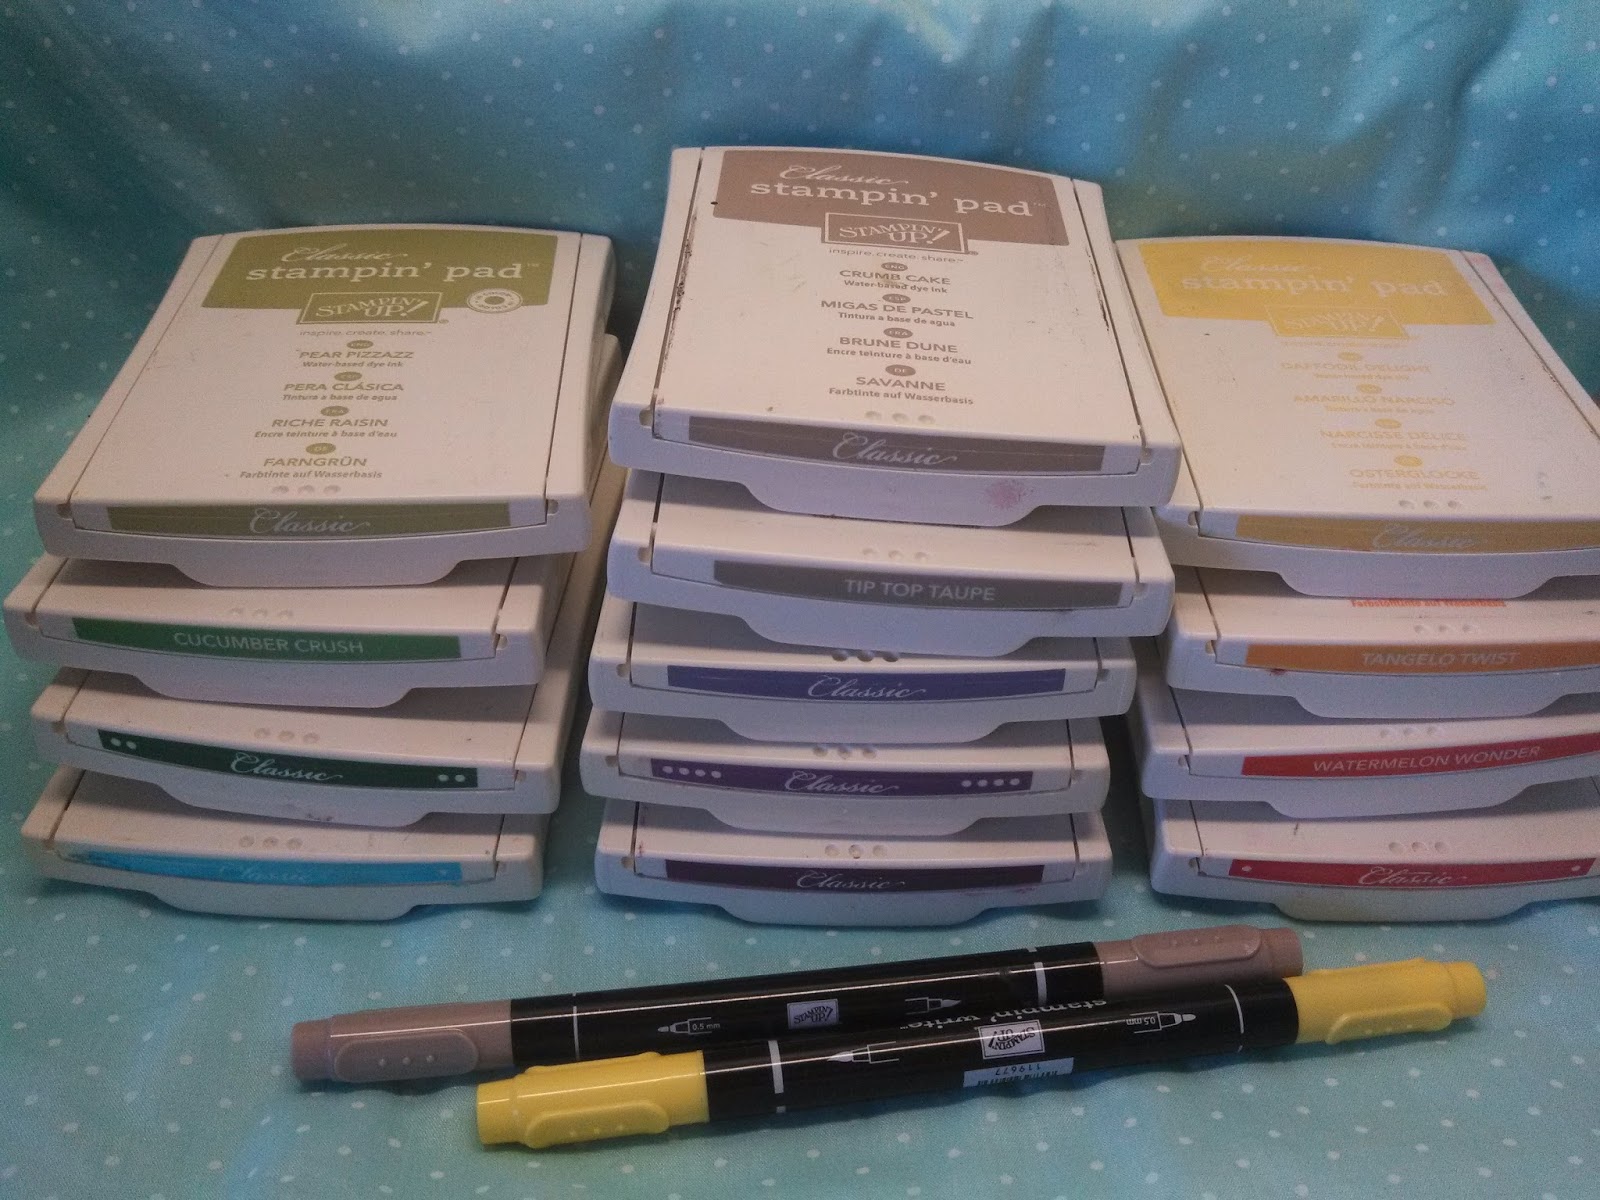
Ink Colours: Real Red, Watermelon Wonder, Tangelo Twist, Daffodil Delight, Rich Razzleberry, Perfect Plum, Wisteria Wonder, Tip Top Taupe, Crumb Cake, Tempting Turquoise, Garden Green, Cucumber Crush & Pear Pizzazz.

For the body I just used a variety of long balloons and the greens in my list as well as a little bit of Daffodil Delight. I pretty much just over lapped them and kept stamping until I achieved the hump shape of the caterpillar. I did mask the red face before I started stamping the body though.

Your hungry caterpillar caught my eye on Pinterest today. It seems you went to a LOT of effort to create him, thanks for the detailed instructions.
ReplyDeleteThanks for your lovely comment Rachel.
ReplyDeleteThis card was fun to create, and I don't mind putting in a bit of effort if I know they'll appreciate it. : )
wonderful project
ReplyDeleteOh my god. This is just so freaking adorable! How creative! Thank you so much for sharing.
ReplyDeleteThe best use of this set I've seen ! How clever !
ReplyDeleteI saw a CASE of your card and came back to see the original. Clever and extraordinarily cute card.
ReplyDeleteThanks for all the lovely comments everyone. I haven't seen a CASE of this yet, I'll have to keep my eye out. ��
ReplyDelete