I hope I can remember everything I used to make these cards...
I'm not even sure if Flip Flap Fold in the right name for this card : )

Stamps: Sprinkles of Life
Card Stock: Delightful Dijon, Blackberry Bliss, Bermuda Bay, Very Vanilla & Bohemian DSP
Ink: Delightful Dijon, Blackberry Bliss & Bermuda Bay
Punches: Tree Builder, Window Word, 2-1/2"Circle, 2-3/8" Scallop Circle, 2" Circle, 1-3/8" Circle, 1-1/4" Circle & Scallop Edge
Extras: Bohemia Washi Tape
The circle of card stock (with the candle stamped on it) is what holds the top flap in place. It's attached with dimensionals on the bottom half only.
I used an Aqua painter to go over the candle and spread the colour, after stamping with the markers.


Stamps: Sprinkles of Life
Card Stock: Watermelon Wonder, Tip Top Tuape,
whisper White & In Colour Envelope Paper
Ink: Delightful Dijon, Watermelon Wonder & Tip Top Tuape
Punches:Tree Builder, Window Word, 2-1/2"Circle, 2-3/8" Scallop Circle, 2" Circle, 1-3/8" Circle, 1-1/4" Circle & Scallop Edge
Extras: Tip Top Taupe Dotted Lace Trim


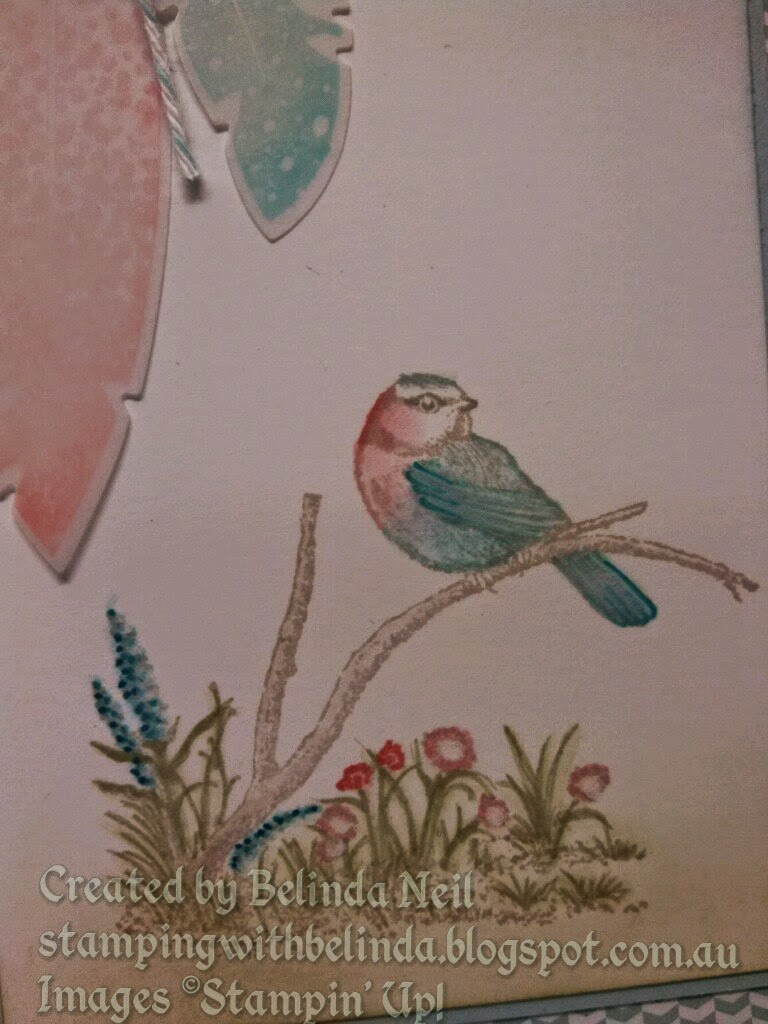
Stamps: Sprinkles of Life
Card Stock: Mint Macaron, Tip Top Tuape,
whisper White & In Colour Envelope Paper
Ink: Delightful Dijon, Mint Macaron & Tip Top Tuape
Punches: Tree Builder, Window Word, 2-1/2"Circle, 2-3/8" Scallop Circle, 2" Circle, 1-3/8" Circle, 1-1/4" Circle & Scallop Edge
Extras: Mint Macaron Dotted Lace Trim