In Colour

In Colour
2022 - 2024
Showing posts with label Sassy Salutations. Show all posts

Sunday, 12 October 2014

Dark & Spooky Cards

I know we don't really celebrate Halloween here in Australia, (well I actually take my kids "trick or treating" at Old Gippstown) but I just couldn't help myself, I had to make something Halloween.
Stamps: Holiday Home & Gorgeous Grunge
Card stock: Mossy Meadow, Basic Black, Whisper White & Vellum.
Blendabilities: Smoky Slate, Daffodil Delight, Night of Navy & Colour lifter.
Ink: Mossy Meadow, Pacific Point, Night of Navy Elegant Eggplant, Smoky Slate & Memento Black.
Extras: Top Note Die, Washi Tape, Circle Punch & Acetate (for making stencils).
Techniques: Tearing, Alcohol Colouring, Masking & Sponging.

Here you can see I've used a craft knife to cut the door open on the house, then I stuck in a ghost that I stamped in Smoky Slate onto Vellum, fussy cut & used a glue dot to adhere.
I also masked the edges of the windows before stamping the ghosts again in Smoky Slate ink, then used the colour lifter to lighten them a little bit.

This card was for my daughter-Jayda's friend, so Jayda stamped & coloured the girl with Alcohol Markers herself, (which I thought she did a pretty good job), then came to me & asked me to make the rest of the card to go with it....
Her requests were to match the girl, in colour bule, purple & black, as well as keeping it spooky. We also need somewhere to put the money (which was her present + chocolate).
Stampin' Up! Stamps:  Sassy Salutations, Gorgeous Grunge & Wicked Cool
Other Stamps: Devilish Donna- Kenny K
Card stock: Concord Crush, Basic BLack & Whisper White.
Ink: Concord Crush, Night of Navy Pacific Point, Daffodil Delight & Basic Black.
Extras: Circle Punch & Envelope Punch Board
Techniques: Masking & Sponging.

This one was for my sister in-law, so Jayda also stamped and coloured in the girl on this card as well since it was for her auntie. The idea was to make it like Linda (the recipient) who wanted red & purple ombre hair.
Stampin' Up! Stamps: Just Sayin'
Other Stamps: Devilish Donna- Kenny K
Card Stock: Riding Hood Red, Basic Black, Very Vanilla & dsp?
Ink: Riding Hood Red, Elegant Eggplant & Basick Black.
Extras: Word Bubble Framelits, Washi Tape, Spiral Punch & Striped ribbon. 

Thursday, 9 October 2014

Slider Cards

These Slider cards were really easy and so much fun to make... I love these cards at the moment, I'm sure you can tell when you see them all. Though I must admit I am missing one from the collection, which I left behind for some to use as a guide (it was was one of my favourites too).
So of course I did use this card for a workshop project, and yes...everyone loved it!

No, this wasn't the workshop project, though I did bring it along to show the versatility of the card.
I Just loved the idea of putting the car on the slider and now I'd have to say this is probably my most favourite one.
(This is not my stamp set by the way, I borrowed it from my wonderful friend Shari, who shares everything, lucky for me)

Stamps: White Christmas
Card Stock: Whisper White & Pool Party
Blendabilities: Cherry cobbler, Old Olive, Night of Navy, Crumb Cake & Smoky Slate.
Ink: Pool Party & Tuxedo Black Memento
Techniques: Masking, Sponging & Colouring ( Belndabilities)

Stamps: Endless Wishes
Colours: Pool Party, Whisper White & Silver
Extras: Labels Collection Framelits, Frosted Sequins, All is Calm dsp & Washi tape.
Techniques: Embossing,  & Piercing

Stamps: Endless Wishes
Colours: Lost Lagoon,  Pool Party, Whisper White & Silver
Extras: Labels Collection Framelits, Frosted Sequins, All is Calm dsp & Washi tape.
Techniques: Embossing,  & Piercing

Stamps: Four Feathers & Sassy Salutations
Colours: Smoky Slate, Whisper White, Soft Sky & Sliver.
Framelits: Four Feathers & Apothecary Accents.
Extras: Clear Buttons, Silver embossing powder & silver ribbon.
 + Print Poetry dsp
Techniques: Embossing,  Masking & Sponging.

This was actually the  very first one of these I made, & I'm sure you can tell, it's very basic.
Stamps: Sassy Salutations & Holiday Homes.
Colours: Cherry Cobbler, Very Vanilla, Early Espresso & Gold
Extras: Apothecary Accents Framelits, Gold embossing powder & Print Poetry dsp.
Techniques: Embossing

This was the first one I started to experiment with (by "experiment" I mean adding embellishments other than a greeting to the moving/sliding tab).
Stamps: Holiday Homes
Card stock: Basic Black, Whisper White & Garden Green.
Ink: Tuxedo Black- Memento, Night of Navy, Daffodil Delight, Versa- Mark & White Craft.
Blendabilities: Daffodil Delight, Old Olive & Cherry Cobbler.
Extras: Holiday Homes framelits, Clear Embossing Powder & White Embossing Powder.
Techniques: Embossing, Brayering, Masking & Sponging.

This one seemed like a good idea at the time... but I didn't quite pull it off, I guess that's what happens when you stay up too late working on the wrong projects : /
Stamps: Holiday Homes, Lovely as a Tree & Good Greetings.
Colours Basic Black Whisper White, Night of Navy & Daffodil Delight.
Framelits: Holiday Homes & Chalk Talk.
Techniques: Masking & Sponging.
I just wanted to mention here that if you want to save on card stock just cut the length of card to 8 1/4" instead of 81/2". This way you'll get two out of a sheet of A4. You will need change one other measurement though, instead of cutting the slot 1 1/2" from the edge you'll cut 1 1/4", you'll also have a smaller section to stick the card together with ( 1/4" instead of 1/2"). I found changing to these measurements was quite easy to adjust. I just wish I had thought of it before I had drawn up the measurements and instructions...


Dawn's Stamping Studio - Slider card Video

Monday, 11 August 2014

Everything Eleanor

My new favourite stamp set.... Everything Eleanor, it's just beautiful and I love it!
Stamps: Everything Eleanor & Hello There.
Colours: Lost Lagoon, Hello Honey, Whisper White & Tangelo Twist.
Techniques: Water colouring, White Embossing , Sponging & Fussy cutting.

Stamps: Everything Eleanor & Hello There.
Colours: Soft Sky, Cherry Cobbler, Whisper White, Naturals White & Daffodil Delight.
Techniques: Blendabilities, White Embossing, Sponging, Piercing & fussy cutting.

Londi's Birthday card. I tried to make the butterflies on the card match the butterfly on the necklace (which was part of her present).Stamps: Everything Eleanor & Sassy Salutations.
Colours: Blackberry Bliss, Whisper White, Naturals White, Melon Mambo, Wisteria Wonder & Tempting Turquoise.
Techniques: Brayering, White Embossing & wet wipes + ink refills.

I folded a wet wipe & added some ink refills (Melon Mambo, Wisteria Wonder  & Tempting Turquoise), this was like making a ombre or multi-coloured  ink pad. First I inked up the solid butterfly on the multi-colored wet wipe, stamped onto white card stock, the using a stamp-a-majig stamped the out line butterfly over the top with Blackberry Bliss.

After the two step stamping of the butterflies, I punched them out & added some Dazzling Diamonds.
Katrina's Birthday card.
Stamps: Everything Eleanor & Sassy Salutations.
Colours: Blackberry Bliss, Sahara Sand & Whisper White.
Techniques: Water colouring, White Embossing, Sponging & fussy cutting.

Once the flowers have been stamped onto the Sahara Sand card stock  with the Blackberry Bliss ink, you can use an Aqua Painter to colour them, by spreading the ink around (you don't even need to add any extra ink).
(You may notice the bird is stamped in Sahara Sand ink here... Well I decided I wasn't happy with that, so I used the Stamp-a-majig to go over it with Blackberry Bliss ink, & I reckon I got it pretty spot on. Happy with that)


Then I added some high lights to the flowers with a white gel pen.


Tuesday, 26 November 2013

The Hunger Games - Catching Fire - Card & Cake

It was my good friend Shari's birthday very recently, and we were going to see The Huger Games- "Catching Fire", movie for her birthday, which is what inspired me to make her card and cake to match the theme ( even though circumstances have prevented us from seeing the movie, twice... which I still haven't seen yet!).
I used the humming bird from elements of style, embossed with gold on black card stock. For the ring I just cover enough black card stock with gold embossing to punch 1 1/4" circle + 1 3/4" circle.
The "Happy Birthday" is from Sassy Salutations, also embossed in gold.

I cut a sheet of white A4 copy paper in half and trimmed to fit inside the card , to resemble a book. I also pierced several hole in the centre and sewed some white cotton through it, again going for the book look, and having a few pages allows plenty of room for everyone to sign the card too.

I'm trying to show you a good shot of the flames.  this pictures showing how shiny they are as the crystal effects reflects the light.

To make the flames I used an Aqua Painter to paint a basic flame shape with gold shimmer powder on to a silicone mat.
Then I added a blob of Crystal Effects in a very basic crescent shape. Then I dipped a tooth pick into some Crystal Effects that I had added some Pumpkin Pie ink refill (to make it orange) and dragged the crescent blob of Crystal Effects into the shape of a flame, the more I dipped the tooth pick into the orange Crystal Effects, the deeper the colour of the flames become. I left them over night to dry, then peeled them of the silicone mat and arranged them on the card before sticking down with a two way glue pen. 

This is my mocking jay made of fondant icing that I coloured yellow and a little bit of orange.

This is with one coat of edible Antique Gold paint...

Two coats...

& Three coats.

I made a chocolate mud cake and covered it with dark chocolate ganache. I've never made ganache before and think next time I would prepare it earlier to allow it to set better.

I was really starting to run out of time at this point, but had managed to make flames for the cake too. I just cut the flame shapes out of fondant icing that I had added yellow & orange colour to, stuck them together, then painted a little bit of maple syrup on the top then sprinkled with red sugar.


Slapped the mocking jay on top and it was done (you can even see where my fingers hit the ganache  as I tried to carefully place the mocking jay into the centre of the cake).

 The Hunger Games Cake,  just in time for catching fire.

The gold looks different in different light.


Lemon Meringue Pie: November 2014
Wonder what will happen this year....

Wednesday, 14 August 2013

Under the Sea -sponging


I recently participated in a small group swap, relating to the new catalogue & products.
I don't have a lot of really new stuff yet (only things I have borrowed from my friend. Thanks Shari).
So I seen some under water pictures & thought I'd try it out with Stampin' Up's stamp set "By the Tide".
Stamp sets: By the Tide & Sassy Salutations.

I prepared my Whisper White card stock with an embossing buddy.

Ink up the coral stamp from "By the tide", in Versa Mark.

Then add Calypso Coral ink.

Stamp onto card stock.

Clean the stamp & repeat first with Versa Mark then with summer starfruit ink.
Remember to make sure your stamps are clean before using them on your Versa Mark ink pad.


I used the top & tail of the lobster stamp at the bottom in Gumball Green, with the intention of resembling  grass & sea weed.

I used the speckled stamp from "Gorgeous Grunge" in Versa Mark, to add bubbles to the scene.

Sprinkle with clear embossing powder.

Use the heat tool to set.

Stamp the sea horse from "By the Tide" in the Versa Mark to colour process, using Daffodil Delight & Strawberry Slush.

Stamp the fish in Versa Mark, & Island Indigo.

Add more embossing powder.

Heat to set.

This is just to show you the stamps & colours I used.
Gumball Green, Island Indigo, Strawberry Slush, Daffodil Delight, Summer Starfruit, Calypso Coral & Versa Mark.

 I used a mask to create the surface of the water & Horizon of the sky, by tearing a piece of paper in half.
If you use the top piece for the water & the bottom for the sky they should almost match up.
Ink colours for the water: Pool Party, Tempting Turquoise & Pacific Point.
I started with Pool Party ink, sponging down in a sweeping motion to avoid messing up the torn paper mask.
You can work your way into the centre using a circular motion.
The clear embossed stamps will resist the ink.
Next colour, Tempting Turquoise. Again use a down ward sweep when sponging over the mask. Try to concentrate this colour under & around the Pool Party, as the water deepens( you can use a circular motion when your not sponging over the mask). Remember to tap off the excess ink before applying to the card stock to avoid the grainy look of the ink. This helps to keep the sponged ink looking soft & smooth.
Pacific Point is the deepest of the blues, so it help the water to become deeper too.
Sponge around the bottom & the edges in a circular motion.
You can always go back & add more of the lighter blues to help them blend together.

Use the other half of the torn paper mask to place at the water surface & sponge the sky in Marina Mist ink. 

This time sweep the sponge up to avoid messing up the torn paper mask.
Try to concentrate most of the colour at the top & around the edges. Think of the real sky, it's always a deeper blue high & above, but much lighter on the horizon.
I stamped my sentiment here, but forgot to take a photo....Oops..

Mount onto Pacific Point & Baked Brown Sugar card stock.
I attempted to bleach the fish (with bleach in my aqua painter) so that I could add another colour. But I think the bleach in my aqua paint was running out, & I had none left.
Same with the sea horses. Although you might be able to see the blue is lighter in the sea horses.

Stamp the words from "By the Tide" in Baked Brown Sugar ink onto Baked Brown Sugar card stock.
It helps if the Brown Sugar card stock is wider than the card stock of the water scene.

Tear the bottom corners off to create the rocks at the bottom of the water/card.
I liked mine to over lap a little bit, once on the card.

Mist with water to help soften card stock.

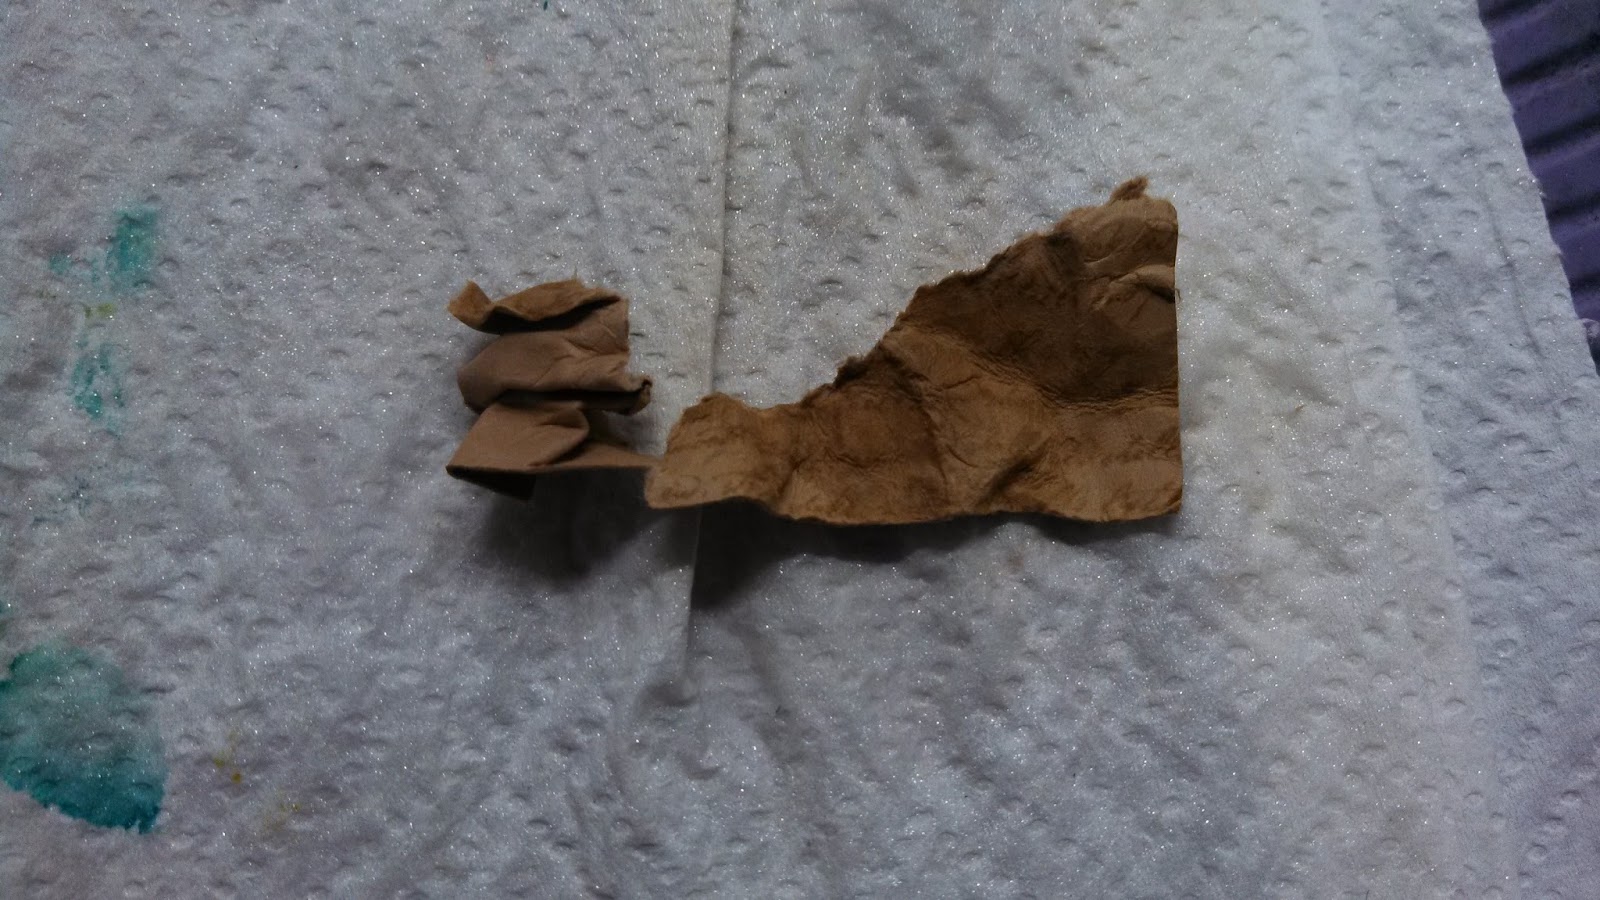
Crumple card stock by screwing it up until your happy with it.

Sponge a little Baked Brown Sugar ink onto the cs rocks.


Glue the cs rocks onto the card.


Rock & Roll the shell.
First ink up the shell in Crisp Cantaloupe ink, then roll edges of the stamp onto the calypso carol ink pad.

Rock & Roll Shells.
I'm not sure if you can see properly in the photo, but the shell is darker on the outside.


Fussy cut the shell.

Spritz with some shimmer. I used White Frost. Let it dry.

Glue the shell onto the card. I liked the idea that it looks like the bubbles are coming from the shell.
Oh...I also added a pearl to the shell later, but forgot to take a photo of that too... Sorry.