In Colour

In Colour
2022 - 2024
Showing posts with label Star Punch. Show all posts

Tuesday, 7 April 2015

Pyramid Card & Stay Closed Box - for Easter treats

The most recent class I held was within the week before Easter, so of course I had to include a box for Easter eggs in the projects... & some chocolate eggs to fill them up too. Mmmm : )
Stamp Set: Chalk Talk
Card stock: Wisteria Wonder, Whisper White, Sliver Glimmer, Irresistibly Yours dsp, & Subtles  dsp Stacks
Ink: Wisteria Wonder
Framelits: Chalk Talk & Stars
Ribbon: White Jute & Silver Slim Trim
Punches: Small Star
Extras: Sliver Glitter

 Here you can see the slit in the back of the card. Tucking the corner into the slit helps the card stand up properly. Other sample I've seen have used Velcro to hold the card together.

Colours: Soft Sky, Blushing Bride, So Saffron & Wisteria Wonder
These were the projects that everyone who attended made. I gave everyone a different colour to use which I think was great, it meant we all got to see how they turned out in other colours & I'm so glad I remembered to take a photo before everyone left.

 These are the templates I draw up for everybody to refer to during the class & take home for future reference. Just in case you're wondering why my instructions are a bit vague, it's because I've already shown them how to assemble the project in the class, but know they'll need the measurements written down (I know I forget things if I don't write it down).

 I thought I'd share these pictures too, just because it's Easter. I work in a shop call Party Cupcake where we sell all sorts of cake decorating supplies, so I made some carrots for the shop window, among other chocolate treats. We sell Choc Drops in all different colours, so I thought why not put them in a plastic bag (which I sealed diagonally), tied them up, added a couple of green paper patty pans (which I cut a small hole in the centre), & tied another green ribbon around it to keep it secure.

This isn't a very good photo, I should've taken it from outside the window instead of beside it, but carrots look good on the grass. 

Tuesday, 14 August 2012

Tea pots, Angry Birds & Birthday Parties


Here's some more samples of what I've been up to  lately  
Kylie's birthday card.  Stripes embossing folder, Morning cup stamp set & Framelits.

Londi's birthday card. (Joy Fold Card) Inspired by Nature stamp set, Beautiful Wings embosslits & sponging.

Katrina's birthday card. (Joy Fold Card) Morning Cup stamp set, Spice Cake dsp & Square lattice embossing folder.

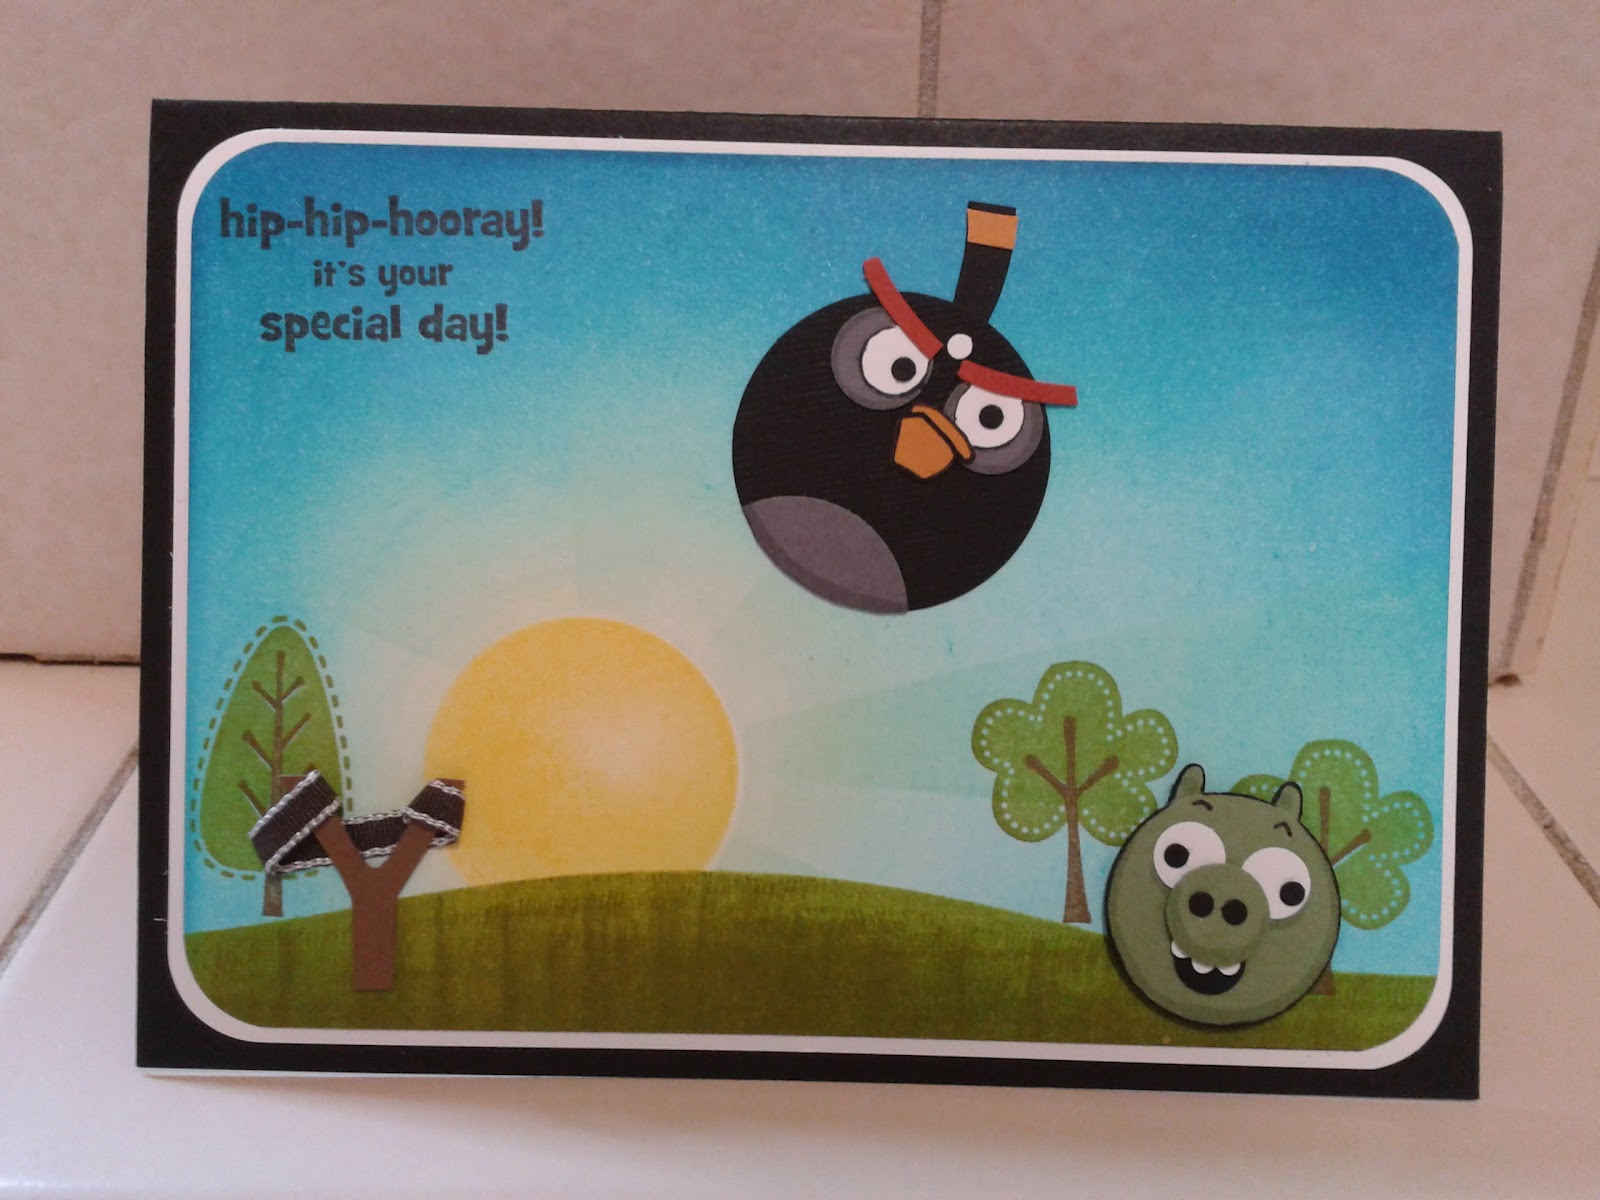
Brandan's birthday card. Angry Birds punch art, Trendy Trees stamp set & Sponged background.

Angry Birds Card & Box gift set.

Birthday party invitation. My kids birthday's are so close (two days apart), we decided to have a joined party for them this year. They wanted the invitations to be colourful, but the part I found tricky was making them suitable for both girls & boys. This was the one they chose to go with.

Birthday Party invitation. This was the one I liked, but apparently it wasn't colourful enough.

The kids made their own party bags as part of the activities. Here I am showing them how to make a box -in-a-bag.
Everybody working hard on their party bags, & us parents helping too.
While the kids were busy doing zumba, treats had been tucked into their party bags.
This was suppose to be an Angry Birds winter cake, & though it doesn't look much like snow on the cake, there are marshmallow snowmen. The big angry birds are store brought marshmallow pops, but I made the smaller red angry bird and the three green pigs from fondant icing, & chocolate finger biscuits over the pigs & around the sides of the cake.


Tuesday, 9 August 2011

Kids Birthday Cards & Cakes

Lucky (or unlucky) for me, my kids birthdays are two days apart, Jayda on the 8th Augast & Jacob on the10 th. We decided not to have parties this year, which meant we could spend a little more on their presents, but of couse I'll still make them a cake & birthday card. For some reason Jayda chose to have a triple orange cake if you could imagine that, so I gave it a go. Have only made cup cakes for Jacob to take to school so far, but if his birthday cake turns out interesting I'll give you a peek.
Jayda's Orange 11th Birthday Cake

Inside Orange Cake, before sticking the two halves together.

Jayda's 11th Birthday Card
(I spent most of my time on the cake, so this was made the night before her birthday).

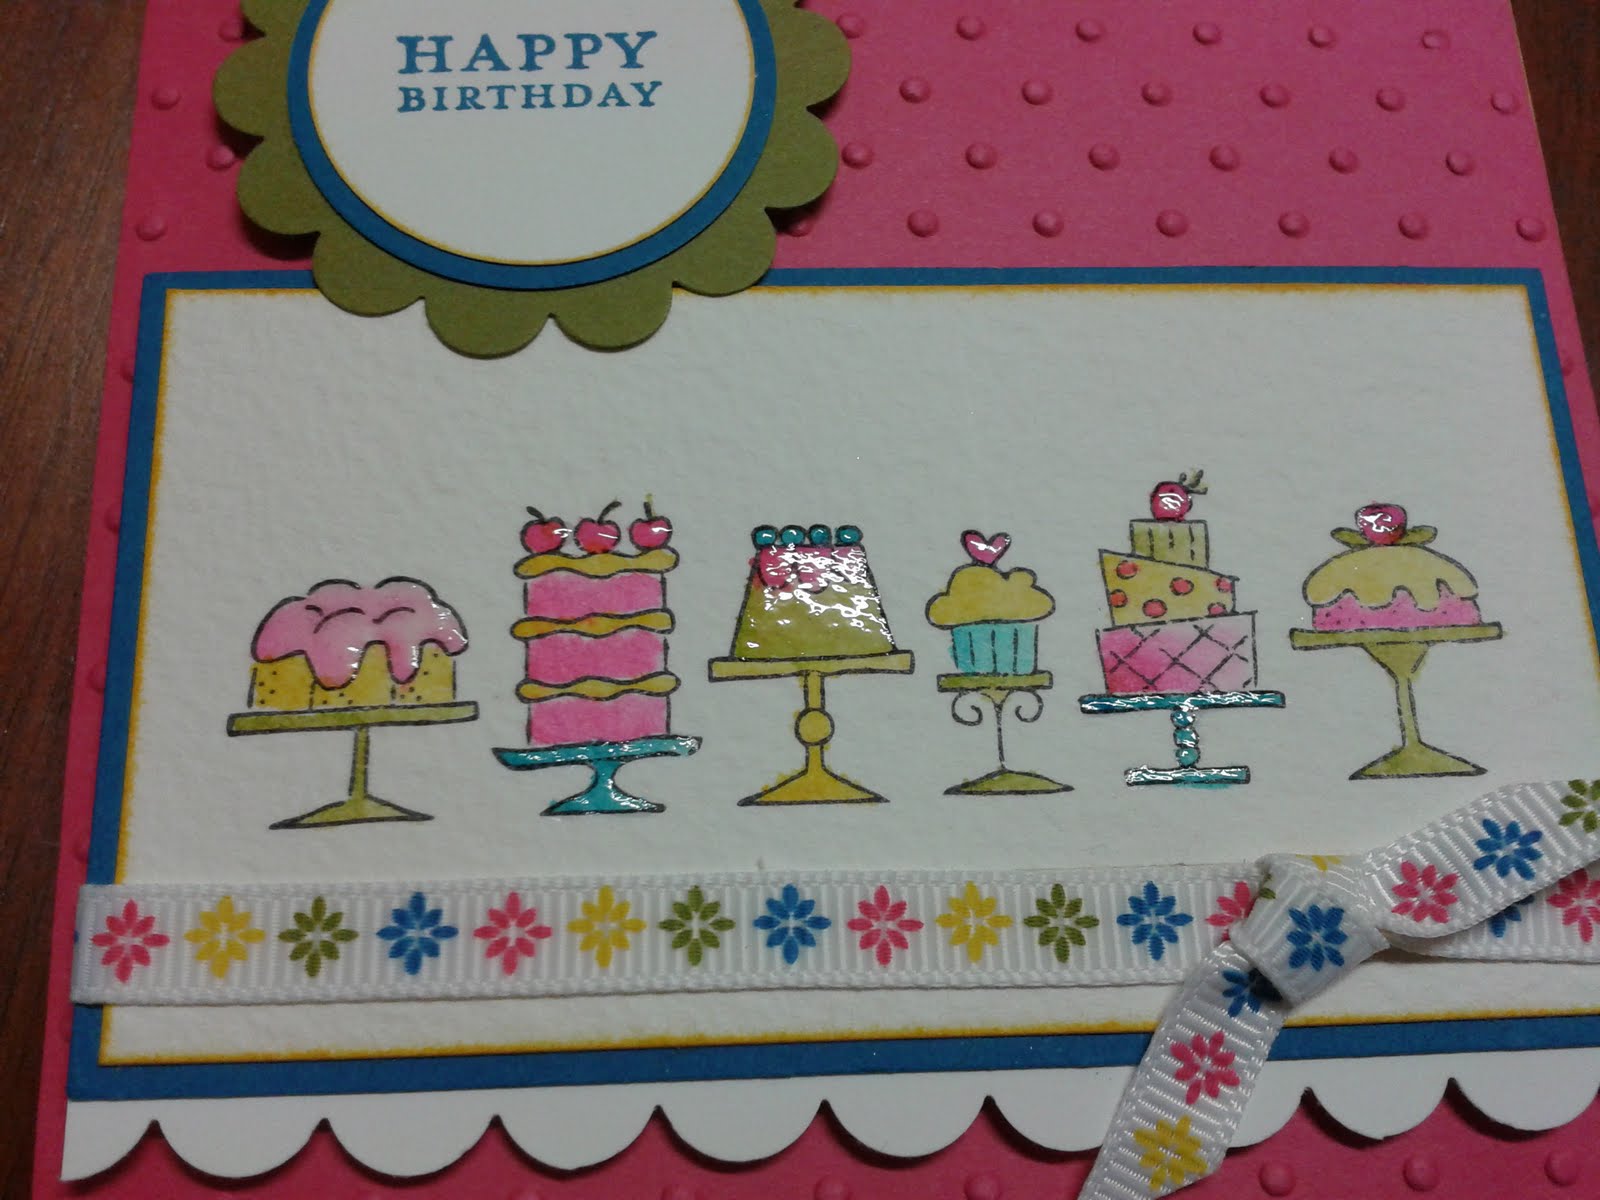
Jayda's birthday card close up. I used Crystal Effects on bits of the cakes.

Jacobs 8th Birthday Card.
(This was my first attempt at a magic card, & again made the day before his b'day)

As you pull the tab up, you can see the robot in colour.

I think next time I make one of these cards, I'll plan my measurements a bit better. I only seem to learn from making misstakes.

There he is, little robot up close.
If you'd like to see a tutorial on this card, check out splitcoast stampers http://www.splitcoaststampers.com/resources/tutorials/magic_card/ 
It a great card to give & a fun card to receive, but a little tricky to make for the first time. But as I always say "practice helps"& Good Luck!